If you have a Yale lock at home, you know that it helps keep your house safe. But did you know that Yale locks use batteries? Yes, they do! And from time to time, you need to change them. In this article, we will learn how to remove the Yale lock battery cover. We will use simple words and short sentences so that everyone can understand.
What You Need
Before we start, let’s see what you need. You don’t need many things, just:
- A Yale lock with a battery cover (of course!)
- A small flat-head screwdriver or a similar tool
Now let’s go step by step and learn how to remove the battery cover.
Step 1: Find the Battery Cover
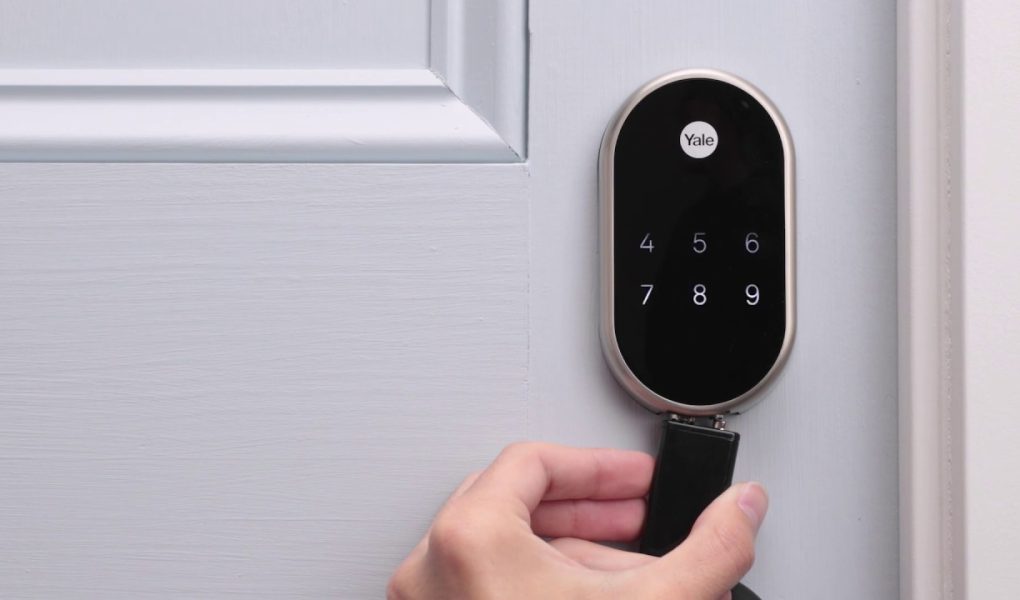
The first step is to find the battery cover. It is a small part of the lock that hides the batteries. Most of the time, you can find it on the inside part of the door. Look for a little rectangular cover with the Yale logo on it. That’s it! You found the battery cover. Now let’s see how to remove it.
Step 2: Unlock the Door
Next, you need to unlock the door. Make sure the door is not locked, so you can work on the lock without any problem. If you are not sure how to unlock the door, check the user guide that came with the lock. It will tell you how to do it. Once the door is unlocked, you can continue to the next step.
Step 3: Use the Screwdriver
Now, take your small flat-head screwdriver or the tool you have. You will use it to open the battery cover. Be careful when you use the screwdriver. You don’t want to damage the lock or the door. Also, make sure you have a good grip on the tool so it doesn’t slip and hurt your hand.
Step 4: Remove the Battery Cover
To remove the battery cover, follow these simple steps:
- Look at the edges of the battery cover. You will see a small gap between the cover and the lock. This gap is called a “notch.”
- Place the tip of your screwdriver into the notch. Remember to be gentle.
- Now, gently push the screwdriver away from the lock. This will lift the battery cover a little bit.
- With your other hand, grab the battery cover and pull it out. It should come off easily.
And that’s it! You have removed the Yale lock battery cover. Now you can change the batteries or do whatever you need to do with the lock. When you are done, don’t forget to put the battery cover back on.
Also Read: How to Remove the Cover of Your Nest Door Lock
Step 5: Put the Battery Cover Back On
After you finish your work, you need to put the battery cover back on. This is easy, just follow these steps:
Look at the battery cover. You will see some small hooks on one side. These hooks help the cover stay in place.
Line up the hooks with the holes on the lock. Make sure they match perfectly.
Gently push the battery cover into the lock. The hooks will go into the holes and the cover will snap in place.
And that’s all! You have successfully put the battery cover back on your Yale lock.
In Conclusion
Yale locks are great for keeping your home safe. But sometimes, you need to remove the battery cover to change the batteries or fix the lock. Now you know how to do it! Just follow the simple steps in this article and you will be able to remove the Yale lock battery cover with ease. And don’t forget the tips to take care of your lock. By doing this, you can make sure your lock works well and lasts a long time.
