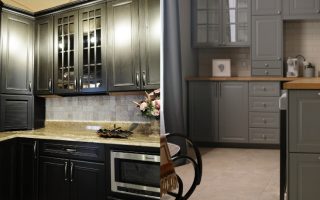
Cabinets are the workhorses of any kitchen. They bravely endure splatters, spills, sticky hands, and general daily wear. Painted cabinets, though beautiful, require special attention to keep them looking their best. If your cabinets are due for a refresh, regular cleaning and attention to grime will prevent buildup and keep them gleaming.
Understanding the Importance of Cleaning Painted Cabinets
Regular cabinet cleaning isn’t just about aesthetics; here’s why it’s important:
- Preserves the Finish: Grease and grime can eat away at paint over time, leading to discoloration and damage.
- Maintains Hygiene: Kitchens are prime locations for bacteria. Cleaning eliminates food residue and germs.
- Increases Longevity: Well-maintained cabinets will last much longer, saving on costly replacements.
- Enhances Home Value: Clean, tidy kitchens are a major selling point for homes.
Tools and Supplies You’ll Need
Gather these simple cleaning essentials beforehand:
- Microfiber cloths: Soft as a feather, these cloths won’t scratch or leave lint.
- Dish soap: Mild dish soap is the star cleaner for painted cabinets.
- Baking soda: A gentle abrasive for tough spots.
- White vinegar: A natural degreaser and disinfectant.
- Rubbing alcohol: For stubborn, sticky messes.
- Bucket or bowl: To mix your cleaning solutions.
Step-by-Step Guide to Cleaning Painted Cabinets
1. Prep Your Workspace
- Clear the counters: Move appliances and items to give yourself space to work.
- Empty the cabinets: Take out contents for a thorough interior and exterior clean.
- Protect floors (optional): Lay down an old towel or drop cloth if you’re concerned about drips.
2. Dust and Wipe Down
- Dry dusting: Start with a dry microfiber cloth to remove dust and loose debris.
- Mild soap and water: Mix a few drops of dish soap into a bowl of warm water. Dip a microfiber cloth in the solution, wring it out well, and wipe down the cabinet surfaces working in a circular motion.
3. Tackle Grease and Stubborn Stains
- Baking soda paste: For heavier grease, create a paste with a little water and baking soda. Rub on the stain gently, let it sit for a few minutes, then wipe away.
- Vinegar solution: Mix equal parts white vinegar and warm water for a slightly stronger degreaser. Spray or apply with a cloth to stubborn areas.
- Rubbing alcohol: Use sparingly for sticky messes that won’t easily budge.
4. Rinse and Dry
- Clean water rinse: Dip a clean cloth in plain, warm water and wipe away any residual soap or cleaning solutions.
- Thorough drying: Use a dry microfiber cloth to dry the surfaces, preventing streaks and water spots.
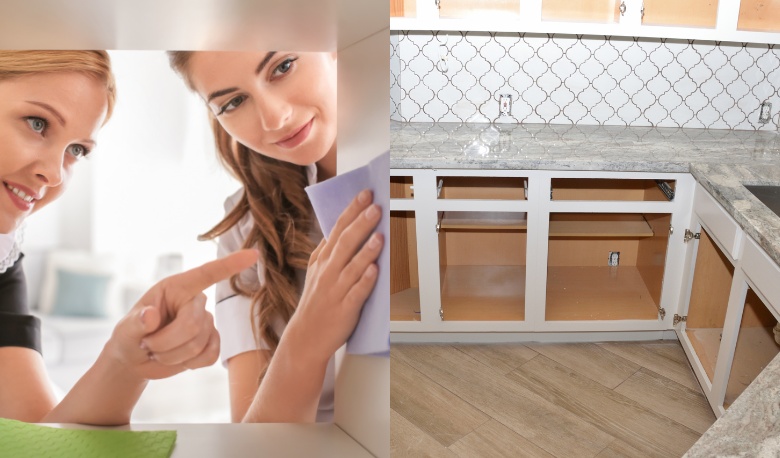
5. Cleaning the Interior
- Wipe down shelves: For interior shelves, repeat steps 2 and 3 as needed.
- Optional: Shelf liners: Consider lining your cabinet shelves to make future cleaning easier and prevent scratches.
Additional Tips for Sparkling Painted Cabinets
- Spot cleaning: Address spills and stains immediately to prevent them from setting in.
- Work in sections: Clean your kitchen in zones to prevent feeling overwhelmed.
- Hinge Maintenance: Wipe around hinges and hardware where dust and food particles can gather.
- Finish touch: Use a little furniture polish on a soft cloth for extra shine (test in a discreet area first).
Cleaning Specific Paint Finishes
Semi-gloss or high-gloss: These finishes boast the highest durability and ease of cleaning. A simple solution of mild dish soap and warm water is generally all you need to tackle everyday dirt and grease. For a bit of extra shine, dry the surfaces thoroughly with a microfiber cloth after wiping.
Matte or eggshell: While beautiful, matte and eggshell finishes are a bit more delicate than their glossier counterparts. Use cleaning solutions sparingly – too much liquid can cause streaks. Start with the gentlest approach (mild soap and water) and apply stronger solutions only to stubborn spots if needed.
Distressed or antique: Cabinets with a distressed or antique finish often have intricate details or a deliberately aged appearance. Avoid harsh cleaning chemicals and abrasive scrubbers. Stick with gentle cleansers and soft cloths, focusing on removing grime while preserving the desired patina.
How Often to Clean Painted Cabinets
Exterior surfaces: A quick weekly wipe-down will help maintain a clean appearance and prevent buildup. Focus on high-touch areas like around handles and knobs where fingerprints and smudges appear most.
Inside cabinets: Give the inside a good cleaning every few months, or sooner if you notice spills or crumbs accumulating. Remove all items when cleaning the interior for the most effective results.
Deep cleaning: Aim to give your cabinets a thorough deep cleaning with stain treatment every 6-12 months. This tackles the grease and grime you may not see on the surface but builds up over time.
Busy kitchens: Homes where cooking and baking are frequent activities may need a more frequent cleaning schedule. Adjust your routine based on the usage of your kitchen.
Preserving Clean Cabinets: Best Practices
Address spills quickly: The faster you clean up a mess, the less chance it has to set in and become a major headache. Wiping up splashes of cooking oil, tomato sauce, or sugary drinks right away saves you effort down the line.
Invest in quality hardware: High-quality pulls and knobs made from durable materials will not only look great but also be easier to clean thoroughly. Avoid intricate designs with grooves where grime can get trapped.
Control cooking grease: Using a splatter screen reduces mess during frying, and a good ventilation system filters greasy fumes out of the air, keeping them off your cabinets.
Close cabinet doors: A simple habit, but keeping doors and drawers closed when not in use minimizes the amount of dust, particles, and cooking residue that settles on surfaces.
Keep hands clean: Regular handwashing while in the kitchen is essential. It minimizes transferring oily or food-covered fingerprints to your cabinet fronts.
Troubleshooting Cleaning Issues
Yellowing of white or light-colored cabinets: Over time, a buildup of grease, exposure to strong sunlight, or simply aging can make white or light paint turn yellow. Start with a thorough deep clean and degreasing. If the discoloration persists, repainting may be the best solution to restore their original brightness.
Deep scratches or chips: Small scratches and chips can often be disguised with a matching touch-up paint pen, available at most hardware stores. For larger or more noticeable damage, professional refinishing may be the best path for a flawless restoration.
Water damage: If moisture has caused warping, bubbling, or peeling of the paint, carefully sand the damaged area. Follow this with primer and fresh coats of paint to blend with the existing finish.
When to Call a Professional
While cleaning painted cabinets is DIY-friendly, some instances warrant professional help:
- Severe Damage: Extensive water damage, peeling paint, or significant stains may be best left to the experts.
- Refinishing: If you desire a whole new color or cabinet style, a professional refinishing service can provide a flawless result.
- Historical or Antique Cabinets: Antique cabinets with detailed finishes should be treated by someone with restoration experience.
FAQs for Cleaning Painted Cabinets
Q: Are commercial cleaners safe for painted cabinets?
A: While some all-purpose cleaners are marketed as safe for different surfaces, always read the label carefully and test on an inconspicuous area first. Harsh chemicals can damage some painted finishes.
Q: Is it okay to use a Magic Eraser on painted cabinets?
A: Magic Erasers are mildly abrasive and can dull the paint finish over time. Use them very sparingly and only for tough stains that don’t yield to other methods.
Q: Can I use wax on painted cabinets?
A: A clear wax can add an extra layer of protection. However, it may not be suitable for kitchens with frequent cooking, as grease buildup on top of wax can be difficult to remove.
The Joy of Clean Cabinets
By following these steps and tips, you can maintain the beauty and longevity of your painted cabinets. The sight of gleaming cabinets will bring a smile to your face and will enhance the overall heart of your home, the kitchen.