
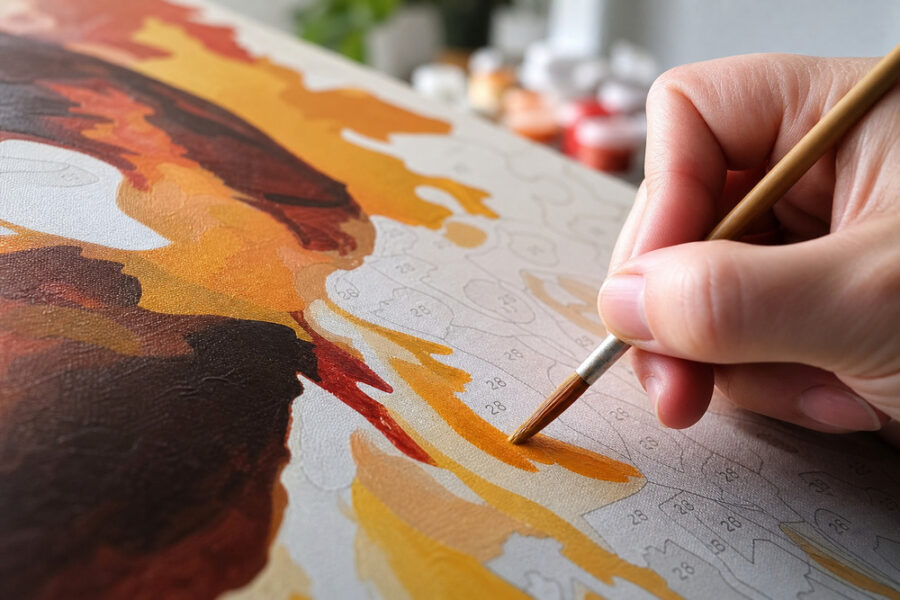
Why Custom Paint by Numbers Is the Perfect Way to Personalize Your Home
Walls tell stories. Instead of hanging mass-produced posters that thousands of other homes already display, more people are choosing to create art that actually means something to them. That is where custom paint by numbers comes in. This growing trend takes a photo you love and turns it into a painting you finish with your own hands, giving your space a look that no store-bought print can match.
If you have ever wanted to try something creative but felt unsure where to begin, exploring custom paint by numbers kits is a great starting point. These kits sit in a sweet spot between relaxing hobby crafting and thoughtful home decor. You get the calm, focused feeling of painting while ending up with a finished piece worthy of your living room wall.
The real magic is emotional. Buying a generic print is quick, but it rarely stirs any feeling. Painting a memory yourself is different. Every brushstroke connects you to the moment in the picture, and that connection stays with you every time you look at it.
You can transform almost any meaningful image, such as:
- A family portrait that captures everyone together
- Your beloved pet in a favorite pose
- A treasured wedding day photo
- The home where you built your best memories
Pick the picture that matters most to you, and let it become the centerpiece of your room. Browse the available kits and start turning your favorite moment into lasting art today.
How to Choose the Best Photo for Your Custom Kit
Picking the right photo is the single biggest factor in how your finished kit turns out. A great source image makes the whole project easier and gives you something worth hanging on the wall. So what should you look for?
Start with the technical basics:
- Good lighting – Natural, even light shows off detail without harsh shadows or blown-out highlights.
- A clear subject – The main focus should stand out sharply so the design has a strong center of attention.
- High resolution – Sharp, crisp images translate into cleaner sections, while blurry photos lose fine detail.
When it comes to subject matter, some choices simply work better than others. Portraits, pets, landscapes, homes, and photos from special occasions like weddings or birthdays all make excellent candidates. These subjects usually have an emotional pull and a defined shape that turns into a satisfying finished piece.
Troubleshooting: if your photo has a busy background, simplify or blur it before ordering. Cluttered detail turns into tiny, hard-to-paint sections that frustrate more than they reward. A clean, high-contrast source image always produces a more paintable and display-worthy result.
Before you submit anything, take a moment to check your framing and composition. Make sure the subject is centered well and nothing important is cut off at the edges. A little cropping now saves disappointment later.
Finally, it helps to preview your design first. Davincified offers a color preview feature so customers can see exactly how their custom photo kit will look before ordering, which takes the guesswork out of the whole process.
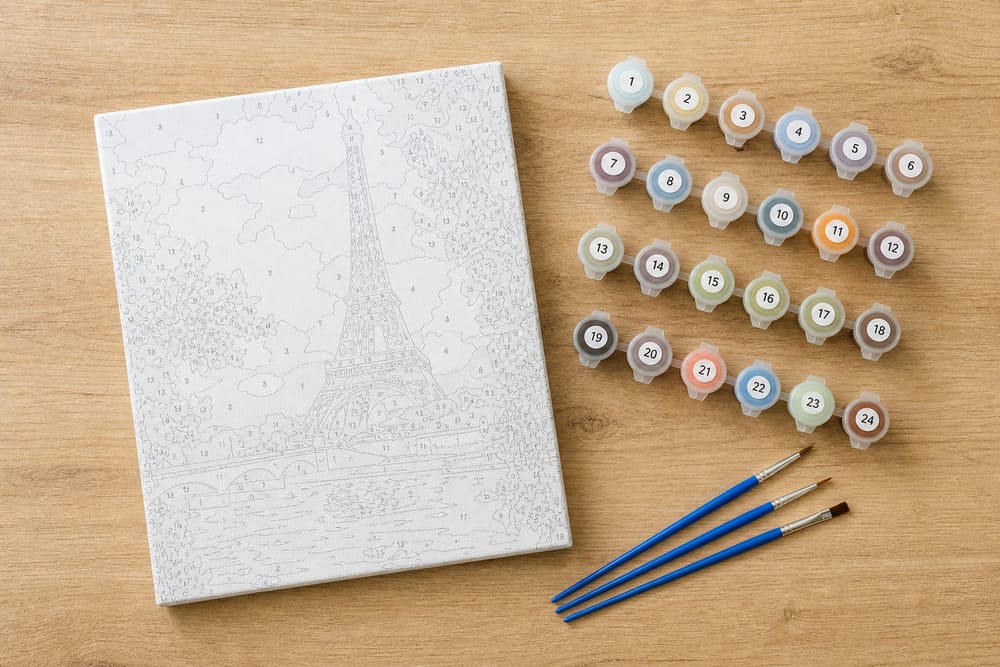
What’s Inside a Custom Paint by Numbers Kit
When you open a custom paint by numbers kit, you’ll find everything you need to turn a blank canvas into finished art. Here’s what typically comes in the box:
- Printed canvas with light outlines and numbered sections that tell you where each shade goes
- Numbered paints matched to the areas on your canvas
- A set of brushes in different sizes for wide fills and tiny details
- A reference guide showing the completed image and a color map
One choice you’ll face is between a rolled canvas and a stretched canvas. A rolled canvas ships flat and is easy to store while you work, but you’ll need to frame or mount it later. A stretched canvas comes fixed to a wooden frame, so it’s ready to hang the moment you add your last stroke. If you plan to display your piece right away, stretched is the simpler path.
Quality matters more than most beginners expect. When a photo gets turned into a paintable design by a skilled artist, the shading and detail come through far better than an automated conversion. Davincified works directly with real artists to create original designs and support the artist community, and that care shows up in the accuracy of their custom conversions.
A few accessories can lift your results:
- A sealer or varnish to protect the surface once you finish
- Brush cleaning tools to keep bristles crisp between shades
Be patient with yourself. Most beginners spend several sittings on a single canvas, and no prior skill is required, just a steady hand and a little focus.
Painting Tips for a Display-Worthy Result
Getting a clean, gallery-ready finish comes down to a few smart habits you build as you go. The biggest one is working in the right order. Always start at the top of your canvas and move down, and paint the background areas before the foreground. This simple approach keeps your hand and sleeve from dragging across fresh paint and leaving smudges behind.
Here’s another habit worth adopting:
- Paint all sections of one color before you switch. Grouping your work by color keeps the shade consistent across the whole piece and saves you from constantly rinsing your brush.
- Take your time at the edges. Use the tip of a smaller brush and steady, slow strokes to fill right up to each line. Crisp borders between sections are what separate a rushed piece from a truly display-worthy result.
- Wipe your brush often so old color doesn’t muddy the next section.
Troubleshooting: If your paints start to dry out or thicken while you work on a large custom canvas, add a single drop of water and stir gently rather than pushing ahead with a stiff brush. This restores smooth flow and prevents patchy coverage over the printed numbers. Long sessions on big canvases are exactly when this happens, so keep a little water nearby.
When you finish and the paint is fully dry, brush on a clear sealer or varnish. This protective layer guards your artwork against dust, moisture, and fading, so it stays vibrant for years once it’s hanging on your wall.
Displaying and Gifting Your Finished Custom Artwork
Once your painting is complete, the real fun begins: showing it off. A finished piece deserves a spot where it can shine, so treat it like the artwork it is.
Framing makes a huge difference. A clean frame instantly lifts a canvas from craft project to gallery-worthy display. When choosing where to hang it, look for a focal wall, somewhere the eye naturally lands, like above a sofa, at the top of a staircase, or across from a doorway.
To help your art blend with the room, keep these tips in mind:
- Match the mood. Pull one or two shades from the painting and echo them in nearby cushions, rugs, or shelf decor.
- Balance the space. Pair a large piece with smaller items so the wall does not feel crowded or bare.
- Mind the light. Natural light brings out detail, while a small picture light adds warmth in the evening.
A hand-painted memory also makes a deeply personal gift. Because you put hours of care into it, the finished work carries far more meaning than something bought off a shelf. These pieces feel especially fitting for milestone moments:
1. Weddings, capturing a couple’s favorite photo
2. Anniversaries, honoring years spent together
3. Housewarmings, welcoming friends into a new home
Davincified’s gift-ready packaging makes a custom paint by numbers kit a thoughtful present for any of these occasions.
Over time, try building a personal gallery. Each new painting becomes a chapter, and together they tell the story of the moments and people you treasure most.